“Invest In Our Planet” is this year’s Earth Day theme. Take this day as an opportunity to evaluate how you can help preserve the planet that protects the very people on it. One way to contribute to a planet that will be here for generations to come is to grow your own food. While not everyone has a garden or the time to tend to it, you can practice by regrowing food from your produce scraps. Regrowing food reduces waste, connects you to nature, and is easy to do!
What you need:
- Different edible plants to regrow from scraps such as onions, sweet potatoes, kale, celery, or herbs like cilantro, rosemary, or basil.
- Potting or gardening soil
- Pots
- Mason jars
- Small garden shovel
- Toothpicks
What to do:
1. Sweet Potatoes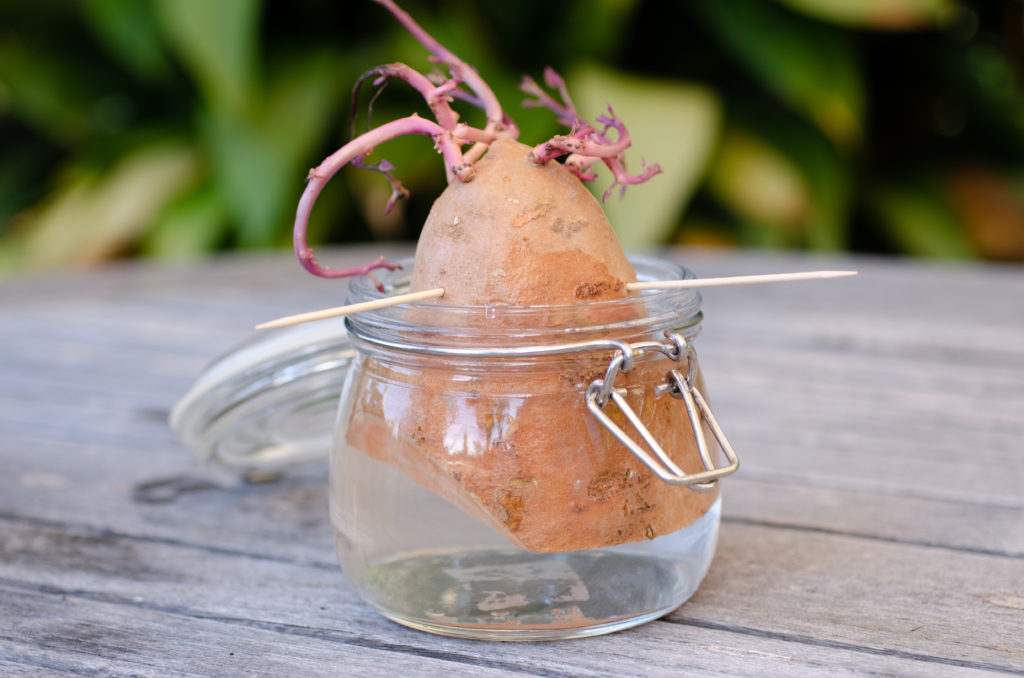
Place a sweet potato in a jar of water to begin growing the sprouts, also known as “slips.” Use two toothpicks to poke into the sides of the potato to prop it up in a small jar. Once they’ve grown to be at least 5″ long, give the slips a good twist and then pull them out of the potato. Next, plant the slips in the dirt about halfway down, and then watch as the slips continue to grow from just one initial potato!
2. Bell Peppers
Stage 1 – Prepare your favorite meal using fresh bell peppers. Set aside and collect the seeds from the best tasting peppers. Also, make sure to choose the seeds that look the best. Throw out any damaged seeds. Spread the seeds out on a dry paper towel. Carefully place them on a paper towel in an area that receives sunlight. Keep the seeds in the sun for about one hour, or until they are dry. Be careful not to keep the seeds exposed to the sun for too long. Test to see if your seed is fully dry by trying to snap it between your fingers. If it bends then it needs to continue drying out. If your seed snaps then it’s ready.
Stage 2 – The next step is planting the seeds! The germination process may take up to two weeks to begin. Make sure you have a strong light source and can keep the plant in a warm, indoor space. Reuse an empty, cardboard egg tray and add organic soil. Add two seeds in each egg cell and keep the soil moist by spraying it with water daily.
Stage 3 – Your seedlings are ready to move into a bigger pot when you see your first set of leaves. Tear off each individual egg carton shell as the leaves appear. Spray it with water and add directly into a hole made in a pot filled with moist soil. You can place the entire cup in the soil. Eventually, the cardboard from the eggshell will break down. Allow your plants to stay in the larger pot for around two weeks, until they grow to be at least two inches tall. Then, transfer your seedlings outside to prepare them for wind and bright sunlight.
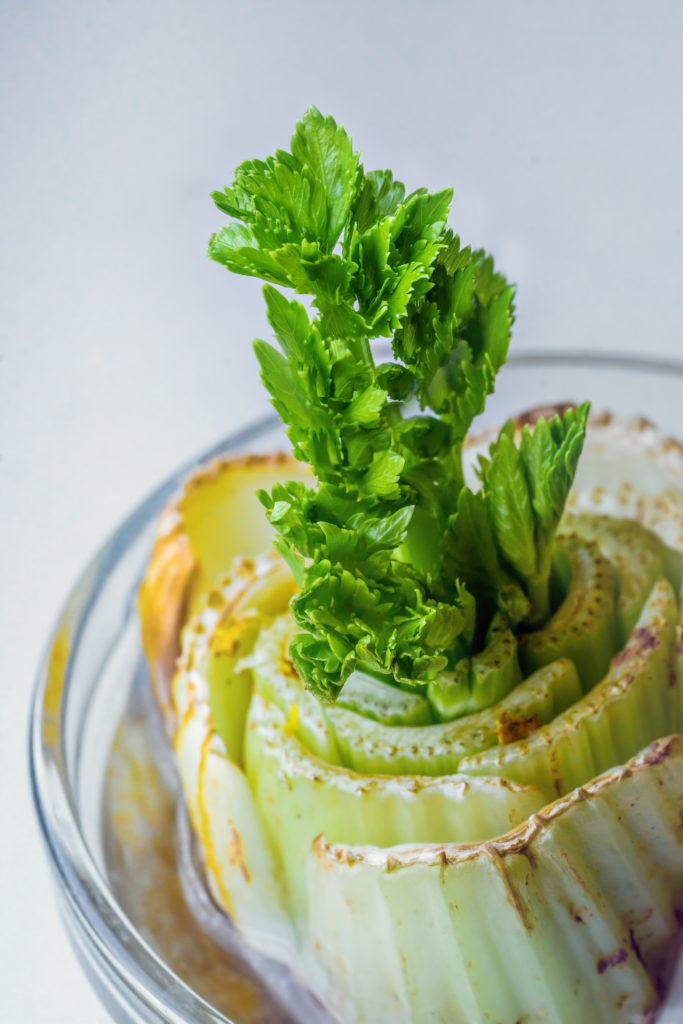
3. Celery
Slice off the end of the celery bunch, about 2 inches from the root. Insert 4-5 equally spaced-out toothpicks around the celery. Suspend the celery in the water to avoid it from touching the bottom of the bowl. Add enough water into a jar to submerge at least 1 inch of the plant root, and store in a place that receives daily natural light. After just a few days, you should see small leaves beginning to sprout from the center of the top. After a week, you should see tiny stalks growing, as well as more leaves and small roots. When the roots are an inch long in size, you’ll want to then replant the celery in potting soil (or in your garden!) The hole should be big enough to firmly hold the plant from the root end up to where it was initially cut. Fill the soil back in and make sure that the leaves and stalks are exposed above the soil.